Indulging in a heavenly slice of chocolate pie without the hassle of baking is a treat that everyone deserves. In this article, we will explore the delightful world of “No Bake Chocolate Pie.” From its rich history to a step-by-step recipe, we’ll cover all aspects of this mouthwatering dessert.
The History of No Bake Chocolate Pie
To truly appreciate the marvel of a no-bake chocolate pie, let’s delve into its history.
Origins
The concept of no-bake pies dates back centuries, with early recipes appearing in cookbooks from the 18th century. These pies often relied on simple ingredients like cream, sugar, and chocolate to create a luscious filling.
Evolution
Over time, the no-bake chocolate pie has evolved, incorporating various flavors and techniques. Today, it stands as a beloved dessert that can be customized to suit any palate.
Ingredients You’ll Need
Before we dive into the preparation process, gather these essential ingredients:
For the Crust:
- 1 1/2 cups of Graham cracker crumbs
- 1/2 cup of melted Butter
- 1/4 cup of Sugar
For the Filling:
- 1 1/2 cups of Chocolate chips
- 8 ounces of Cream cheese
- 14 ounces of Sweetened condensed milk
- 1 teaspoon of Vanilla extract
- 2 cups of Whipped cream
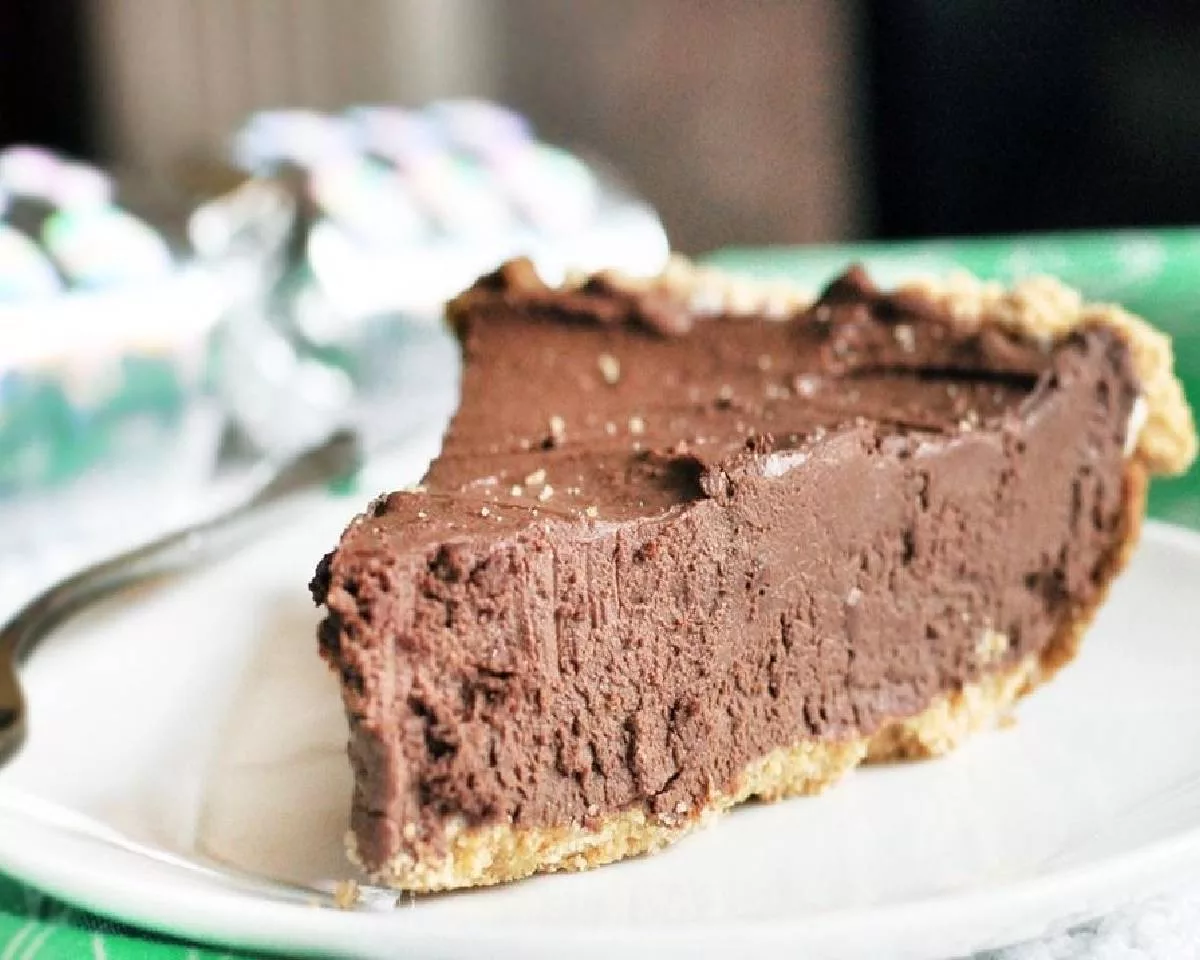
The Step-by-Step Recipe
Now, let’s get down to the delicious details.
Step 1: Prepare the Crust
Begin by mixing 1 1/2 cups of graham cracker crumbs, 1/2 cup of melted butter, and 1/4 cup of sugar in a bowl. Press this mixture into a pie dish to form the crust. Refrigerate while you prepare the filling.
Step 2: Melt the Chocolate
In a microwave-safe bowl, melt 1 1/2 cups of chocolate chips until smooth. Stir occasionally to ensure even melting.
Step 3: Create the Filling
In a separate bowl, beat 8 ounces of cream cheese until creamy. Gradually add 14 ounces of sweetened condensed milk and 1 teaspoon of vanilla extract, mixing well. Finally, fold in the melted chocolate.
Step 4: Assemble the Pie
Pour the chocolate filling into the prepared crust. Smooth the top with a spatula for an even finish.
Step 5: Chill and Serve
Refrigerate the pie for at least four hours or until it sets. Once ready, garnish with 2 cups of whipped cream and chocolate shavings. Slice and serve your delectable no-bake chocolate pie!
Why Choose No Bake Chocolate Pie?
- Convenience: No need to fuss with the oven; this pie is a breeze to make.
- Versatility: Customize the pie with your favorite toppings, from fruit to nuts.
- Year-Round Delight: Enjoy the rich, chocolaty goodness any time of the year.
Conclusion
In conclusion, the no-bake chocolate pie is a delightful dessert that combines ease of preparation with heavenly taste. Whether you’re a novice baker or a seasoned chef, this pie is sure to please your taste buds. So, why wait? Give it a try and savor a slice of chocolatey bliss!
FAQs (Frequently Asked Questions)
- Can I use dark chocolate instead of milk chocolate for the filling?
- Absolutely! Dark chocolate adds a sophisticated twist to the pie.
- Is it necessary to refrigerate the pie for four hours, or can I serve it sooner?
- Chilling for four hours ensures the pie sets properly, but you can enjoy it sooner if you can’t wait!
- Can I make this pie ahead of time for a special occasion?
- Yes, preparing it a day in advance allows the flavors to meld and intensify.
- What toppings go well with no bake chocolate pie?
- Popular choices include whipped cream, fresh berries, and chopped nuts.
- Can I make a gluten-free version of the crust?
- Certainly! Substitute gluten-free graham crackers for a delightful gluten-free option.